The Identity and Access Manager (IAM)
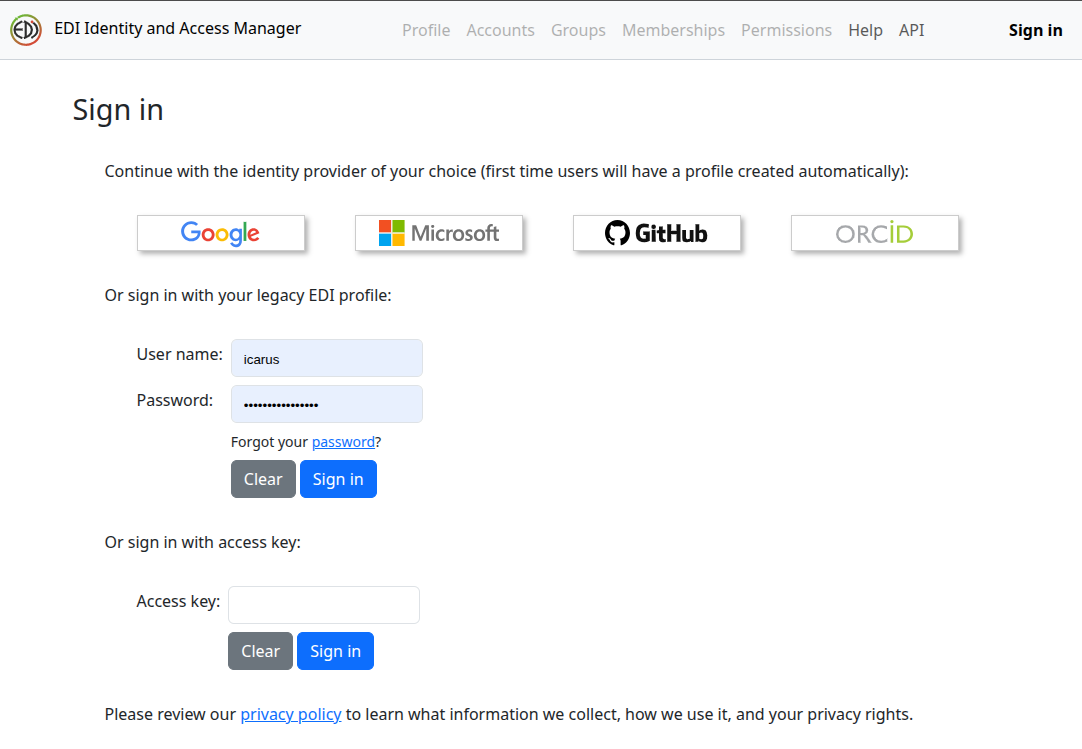
The Identity and Access Manager (IAM) is a security framework designed to protect resources across all EDI applications. Built on the industry-standard OAuth2 authorization protocol, IAM integrates directly with identity providers including Google, Microsoft, GitHub, and ORCiD.
Profiles & Access Control
- Create a profile automatically: IAM enables you to authenticate in EDI applications using your preferred identity provider. When you sign in, IAM creates a free profile and assigns you a unique EDI identifier (EDI-ID). This identifier represents you across EDI applications.
- Manage resource access: IAM lets you grant Reader, Editor, and Owner permissions to control who can view, modify, or administer your resources.
Additional Capabilities
In addition to authentication, IAM provides tools for account and data management:
- Permissions management: Control who can view or modify your published data packages.
- User groups: Create groups and assign colleagues to simplify permissions across multiple resources.
- Profile administration: Update profile details such as display name and email address.
- API Access Keys: Create and manage keys for automated programmatic access.
Main Pages
The IAM website has five main pages: Profile, Accounts, Groups, Memberships, and Permissions, along with a drop-down Profile menu from the avatar button at the upper right. Each of these pages and the drop-down menu are described below.
Profile
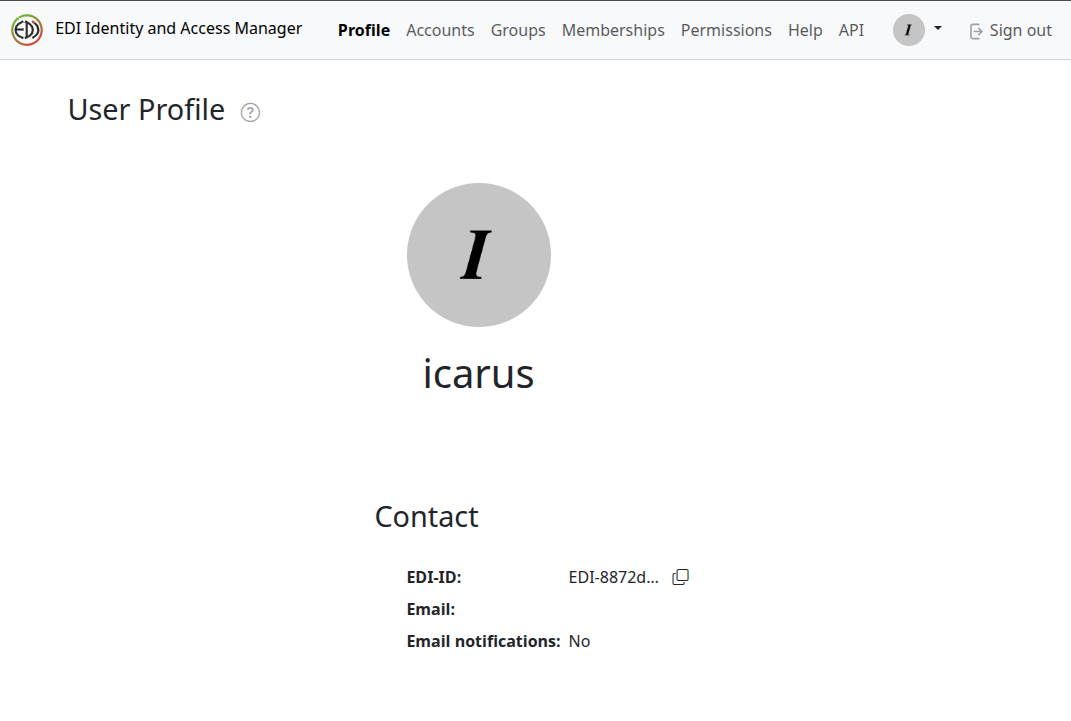
The Profile page displays information about you, the signed-in user, including your username, EDI identifier (EDI-ID), email address (if set), and whether you have consented to notification by email of relevant information. The main element of this page is your EDI identifier, which can be copied using the copy button () for use in other applications.
Accounts
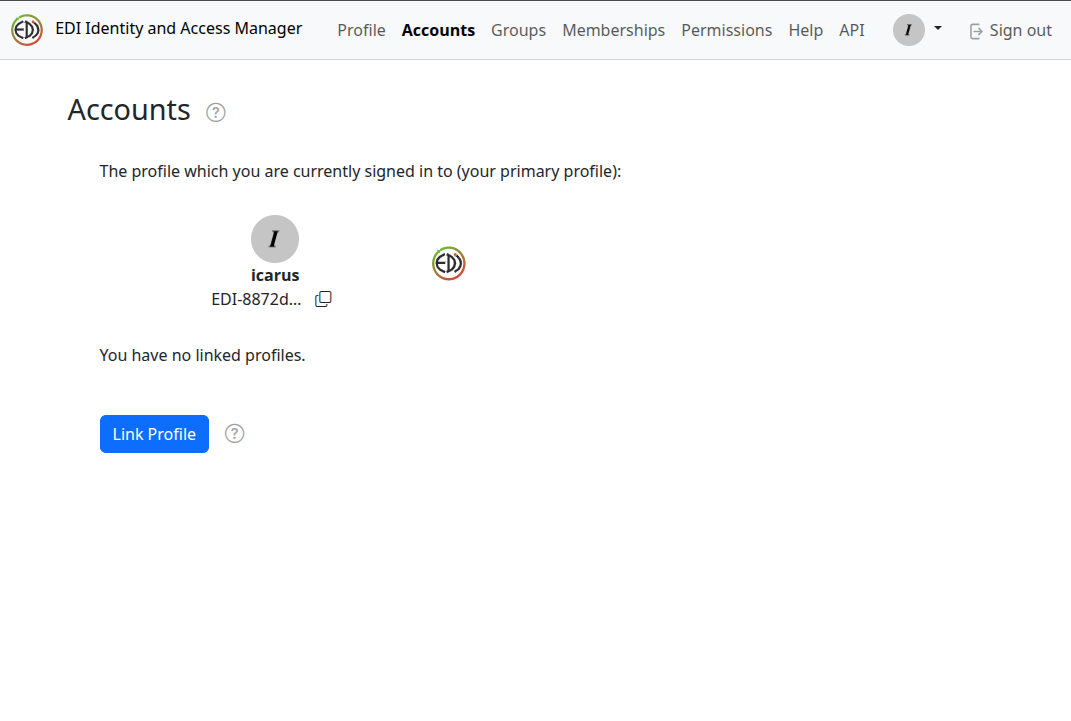
The Accounts page displays your primary profile and any linked profiles, along with the identity providers used to sign in.
-
Multiple Accounts: Each profile is associated with a single identity provider account. You can create multiple profiles by signing in with different accounts — even from the same provider.
-
Linking Profiles: If you have multiple profiles, you can link them to gain combined access to all resources across those profiles. You may sign in with your primary profile or any of the linked profiles.
-
Unlinking Profiles: You can unlink profiles at any time. Unlinking a profile enables you to sign in to it separately again. An unlinked profile retains all permissions that have been specifically granted to it, but will no longer have permissions from the profiles to which it was previously linked.
Groups
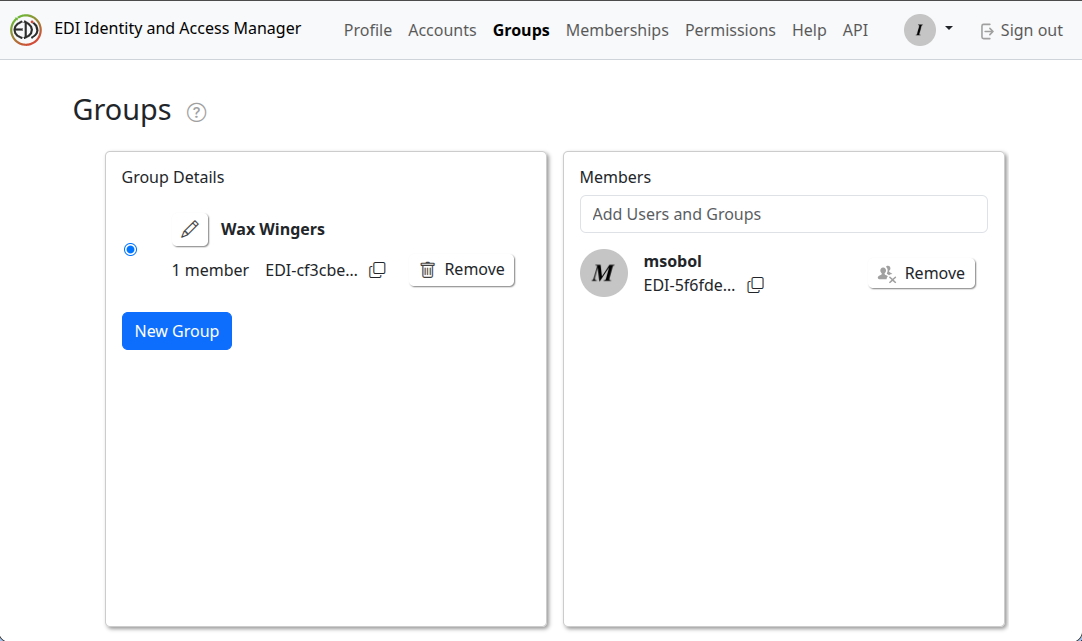
The Groups page enables you to create and manage user groups for more efficient access control. Instead of granting permissions to individuals one by one — a process that can quickly become cumbersome and error-prone — you can assign permissions directly to a group in a single step. Adding a member to a group immediately grants them access to all resources associated with that group, while removing them revokes that access instantly.
Memberships
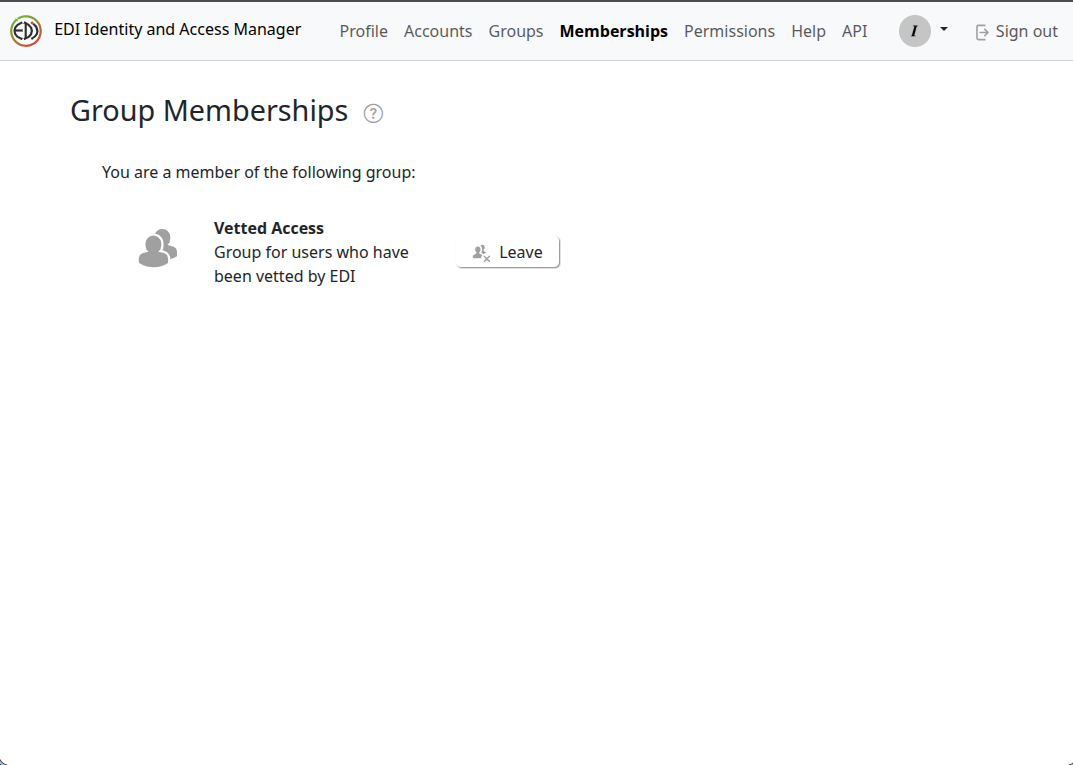
The Memberships page shows you the groups of which you are a member, and it gives you the option to leave any group.
Permissions
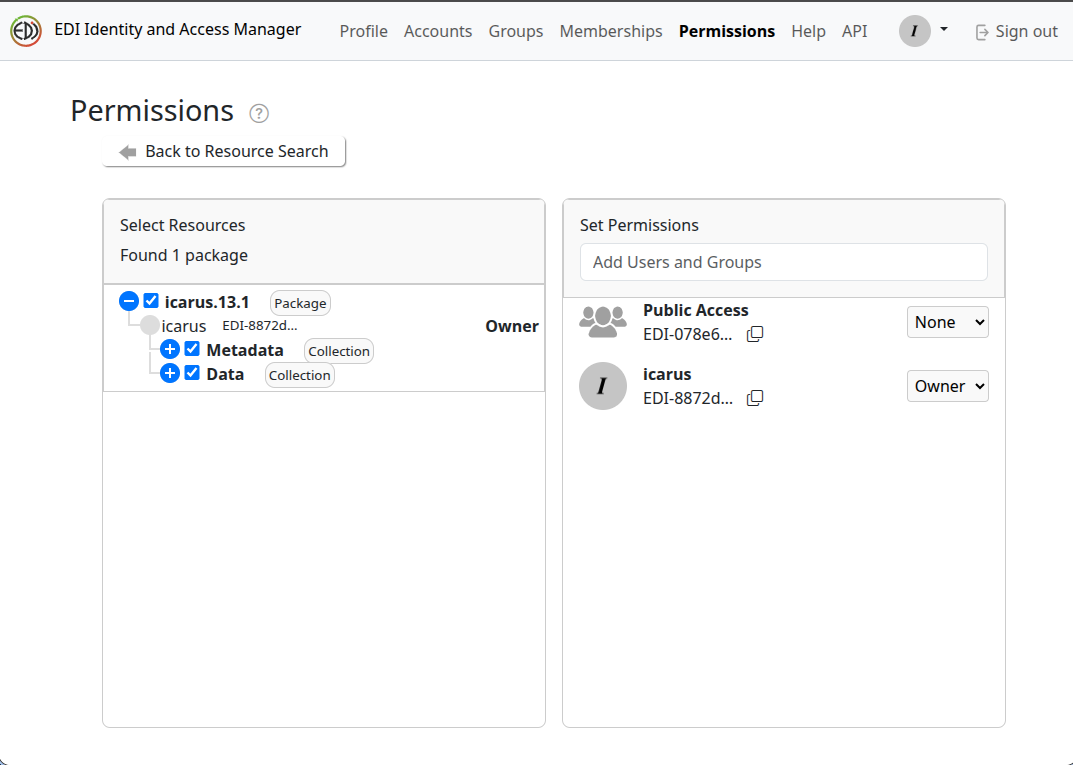
The Permissions page enables you to assign and manage permissions for the resources you own, specifically data packages and their individual components. Permissions use a tiered approach and include four specific levels: Reader, Editor, Owner, and None. See below for more information on permissions.
Profile Menu
The Profile menu is accessed by selecting your avatar button near the top-right of the toolbar. The menu provides four options: Edit Profile, Select Avatar, Access Keys, and Authentication Token.
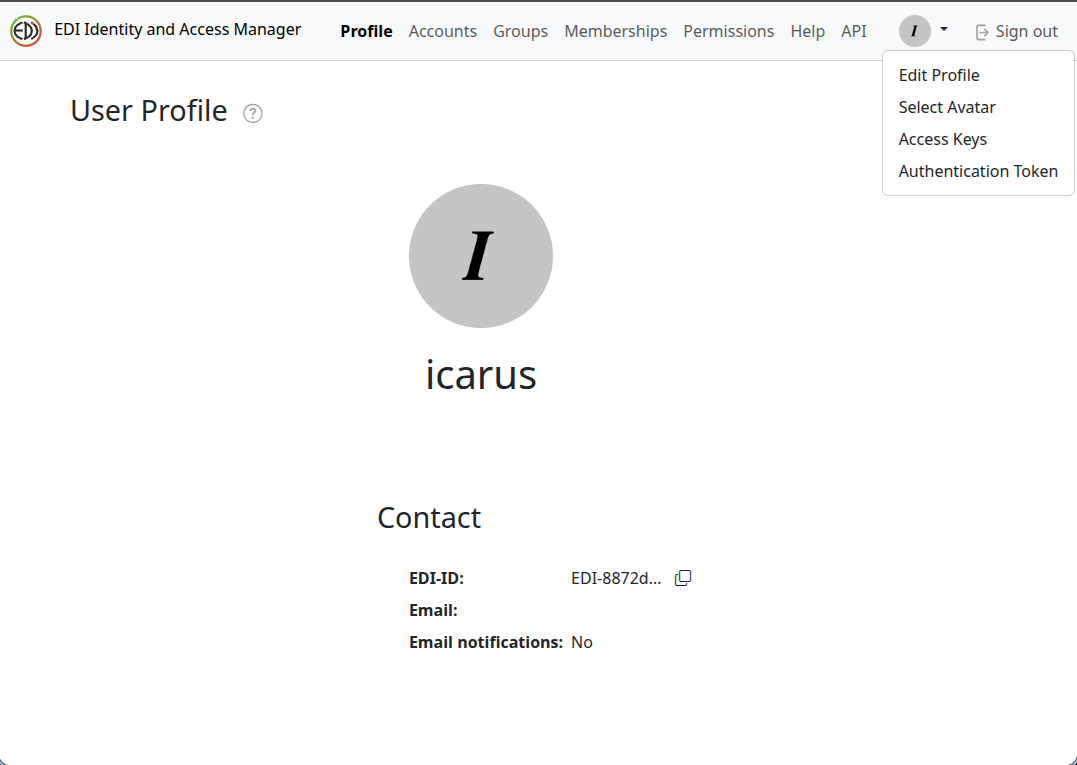
- Edit Profile - Modify attributes of your profile. These include changing your profile visible name, your active email address, and consenting to receive low-volume notification emails from EDI. You may also delete your profile if you desire. This last action will prohibit you from accessing EDI applications that require authentication.
- Select Avatar - Select available avatars to display on avatar enabled applications. Only avatars associated with your primary and linked profiles are available for selection.
- Access Keys - Create and manage EDI API Access Keys.
- Authentication Token - View and copy your current EDI authentication token.
Additional Information
Working with Resource Permissions
In EDI, access control revolves around three core concepts: Resources, Subjects, and Permissions.
- Resource: Any asset that requires protection — specifically data packages or service API methods.
- Subject: An entity attempting to interact with a resource, such as a user, group, or software process.
- Permission: The access level granted to a subject on a resource.
EDI uses a tiered permission structure (mapped to standard read, write, and admin concepts) aligned with our data publishing model:
- Reader (Read-only access): Enables viewing or downloading your data and metadata both through the web interface and API without the ability to modify it.
- Editor (Write access): Inherits all Reader access and grants access to modify the resource, including deleting it or uploading new revisions.
- Owner (Admin access): Inherits all Editor access and grants access to add, modify, or revoke permissions for other users.
- None (No access): Disable explicit access. Access may still be granted through other permissions, e.g., if the resource has Public or Authenticated access, or the subject is a member of a group that has access, the subject will still have access.
When you publish a data package with EDI, default access is strictly limited. Only the user who submits the package (designated as the Owner) and any subjects or principals explicitly listed in the metadata's access control list are granted permissions. All other users are implicitly denied access.
How it works in practice: If you are the Owner of a data package, you hold the administrative privilege required to grant Reader permissions to other Subjects, authorizing them to access and download that data. See here for adding permissions to your data packages.
Caution: Exercise care when granting Editor or Owner access, as these allow other users to alter your data or alter who has access to it.
Working with Groups
In the IAM framework, a Group is a collection of user profiles used to streamline permission management across multiple data packages and individuals.
Why Use Groups?
Instead of assigning access rights to individual users repeatedly, you can group users together and assign permissions to the group itself. This significantly simplifies user management:
- Onboarding: Adding a new colleague to a group automatically grants them access to all resources assigned to that group.
- Offboarding: Removing a user from a group instantly revokes their access across all associated data packages.
How Groups Work
Groups function like individual user profiles and can be assigned any of the standard access levels (Reader, Editor, or Owner). All group members inherit the permissions assigned to the group. . Note that nesting is not supported — groups cannot be added as members of other groups. See here to learn more about groups.
Like individual user profiles, groups can act as authenticated users within EDI. API Access Keys can be assigned to them. They have an EDI-ID and are represented by EDI authentication tokens.
Groups also provide a way to give someone anonymous authenticated access. This is done by creating an empty group, creating an API Access Key for the group, and giving the key to the person who requires access. Such a group will typically require no members, but if members are added to the group, they will gain access to resources to which the group has access, just as with a regular group.
Working with Authentication Tokens
Authentication tokens are the mechanism used to convey user profile and group membership information both internally and between applications.
- For casual users: The technical details of tokens are not important, and you generally won't need to interact with them.
- For developers: If you work directly with EDI's REST APIs, tokens provide necessary profile and group relationship data. Tokens are passed to EDI applications within a Cookie header.
Technical Considerations
- Lifespan: Tokens have a intentionally short (hours) useful lifespan.
- Best Practice: For general use with EDI's REST APIs, authentication tokens should be replaced by API Access Keys (detailed below).
Want to dive deeper? If you are a developer looking for technical specifics on our authentication tokens, please contact the EDI team directly to discuss your use case.
Working with API Access Keys
An API Access Key is a secret identifier used in exchange for an EDI authentication token. It carries the exact same privileges as signing in with your personal identity provider — making it a sensitive credential that must be protected.
Key Features and Differences
- Custom Lifespan: Unlike authentication tokens (which expire in a few hours and cannot be extended), access key lifespans are defined by you. They default to one year, and you can edit their name and valid date range at any time.
- Flexible Usage: Designed primarily for the EDI repository REST API, access keys can also be used to sign in to the Data Portal and the Identity and Access Manager.
- Multiple Keys: Registered users can generate multiple keys via the Profile Menu > Access Keys page to manage different projects or workflows.
How It Works Under the Hood
When you append your access key to an API request as a query parameter (?key=YOUR_KEY), the EDI repository gatekeeper service automatically converts it into a real, short-lived EDI authentication token. The token then handles backend authorization, granting the request the full privileges of your profile.
https://pasta.lternet.edu/package/eml/icarus/1/1?key=ACCESS_KEY_GOES_HERE
For step-by-step instructions on generating an API Access Key, see here.
Group Access Keys (Recommended for Security)
To limit security risks — especially when integrating with external data catalogs or automated scripts that only need read access — you can create a Group Access Key instead of a user profile key. See here for data catalog best practices.
- Scoped Privileges: Operates identically to a user key, but its privileges are restricted strictly to what the assigned group is allowed to do.
- Creation: Generated from the same Access Keys page by selecting a target group instead of your user profile.
Security Note: Your Profile Access Keys provide unlimited access to your account, and should be treated with the same level of security as passwords. Never share them, post them on public web pages, or commit them into source code repositories. Group Access Keys are safer for use in scripts and external applications, as they can be scoped to specific groups. However, they should also be treated as sensitive credentials and protected accordingly.
Video Content
See here for videos about the Identity and Access Manager and related topics.